For all those momma's who want to make their own diapers but aren't quite sure how here is my tutorial. I am by no means an expert so please bear with me. Don't hesitate to ask any questions. :)
Step 1: Cut out a diaper pattern. I use one from Babyville Boutique but you can find plenty for free online. You will need to cut out two to three pieces of cloth from this pattern so I recommend tracing the pattern onto something like cardboard so it doesn't get ruined. The three pieces of cloth you will need to cut are your outer layer, your PUL (unless your outer layer is a PUL), and your inner layer. I use fleece for my inner layer and tend to go towards flannel for my outer layer.
Step 2: Sew your PUL to your outer layer. (Straight stitch works fine)
Step 3: Apply the snaps to the outer layer. I use 12 snaps for this part. two rows of three on each side. This way if baby has chubby legs, skinny legs, or is growing the diaper can be adjusted to prevent leaks and blow outs. I get my snaps at kamsnaps.com but you can purchase them at Joann's too. Make sure all the snaps face the same direction as you will be apply more snaps later on. Instead of snaps Velcro can also be used but I think snaps work better and last longer.

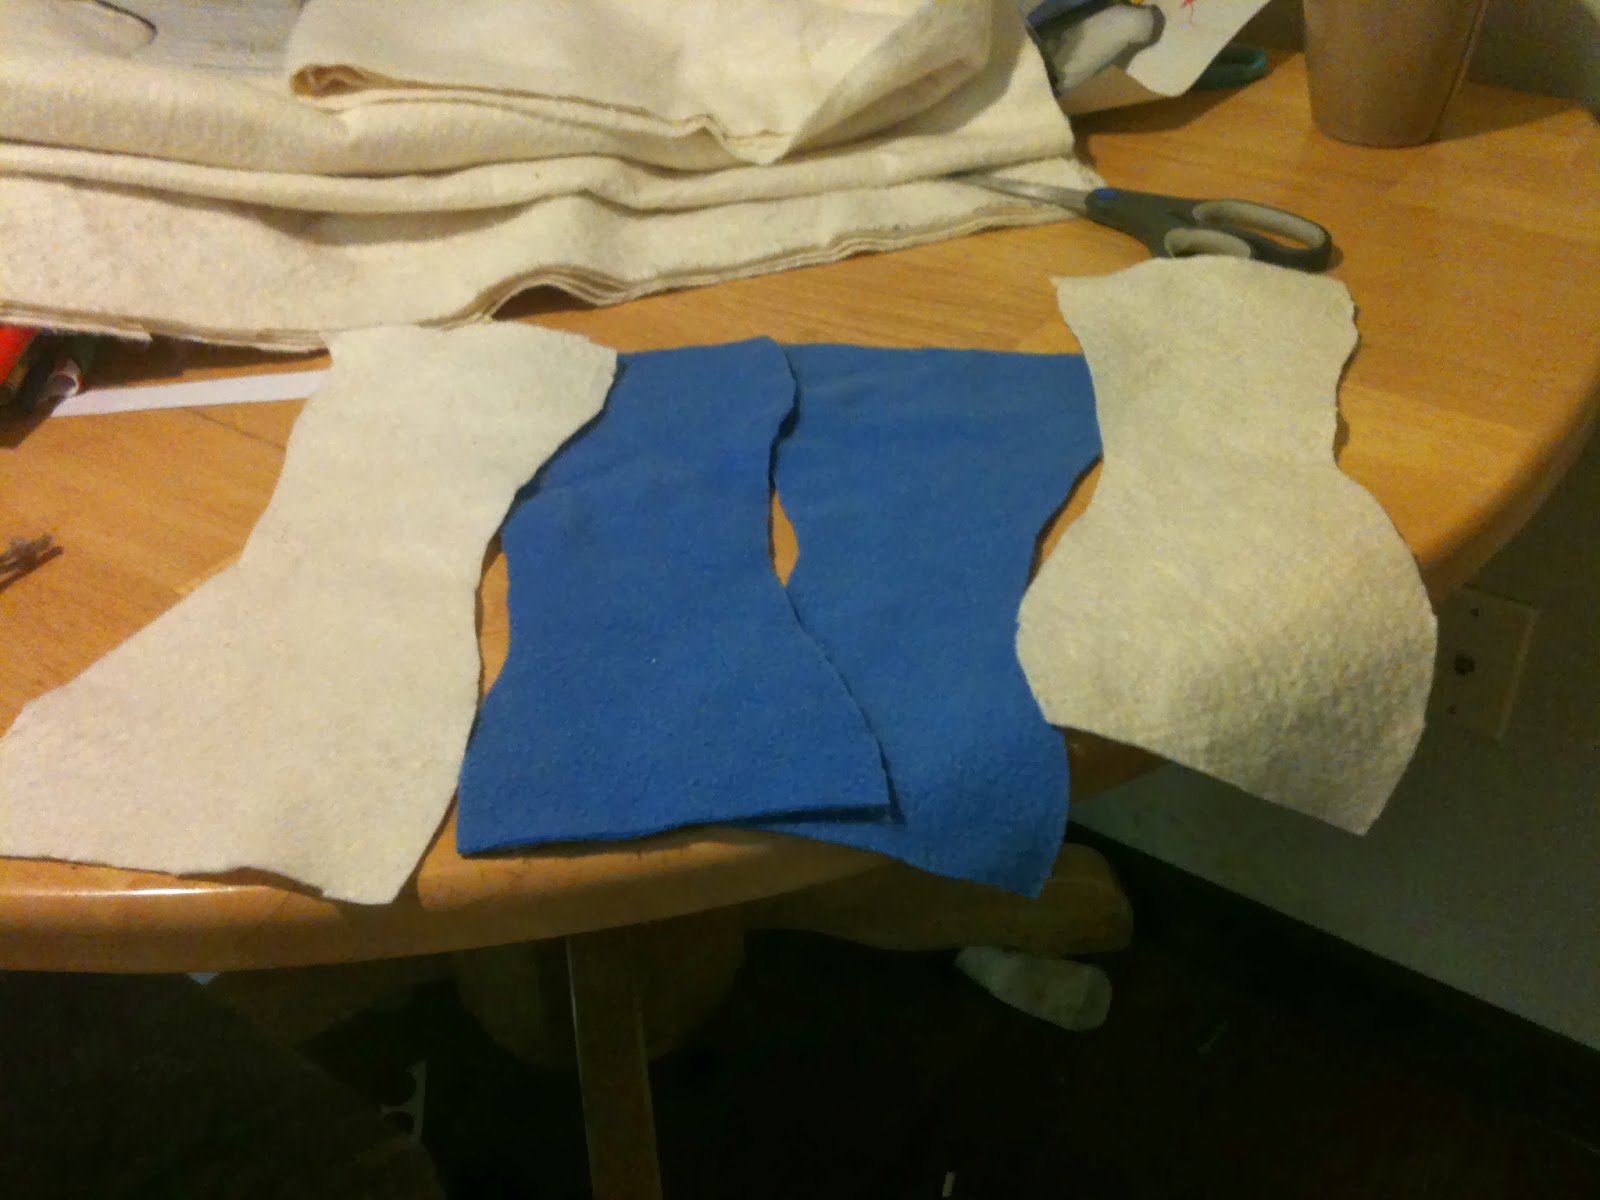
Step 4: Cut out the pattern for the insert. You will need to cut two pieces of the outer cloth you plan to use for the insert and two pieces of whatever the insert is. In my case I use fleece as the outer part of the insert and bamboo for the actual insert. Sew these together with the two pieces of insert in the middle sandwiched between the outer material. (Straight stitch works fine) Side note: When I sew I like to make it look pretty so I actually sew the outer layer in the middle and then flip it around- you don't have to do this. If you are a novice sewer sewing the inserts in the middle and the outer layer on the outside is great! :)
Step 5: OPTIONAL STEP: Sew the insert to the inner diaper fabric. With my Baby Thor I had all of my inserts removable but with Appleseed I am sewing in the inserts so I have one less step when I change diapers. It is completely up to you. (Straight stitch works fine)


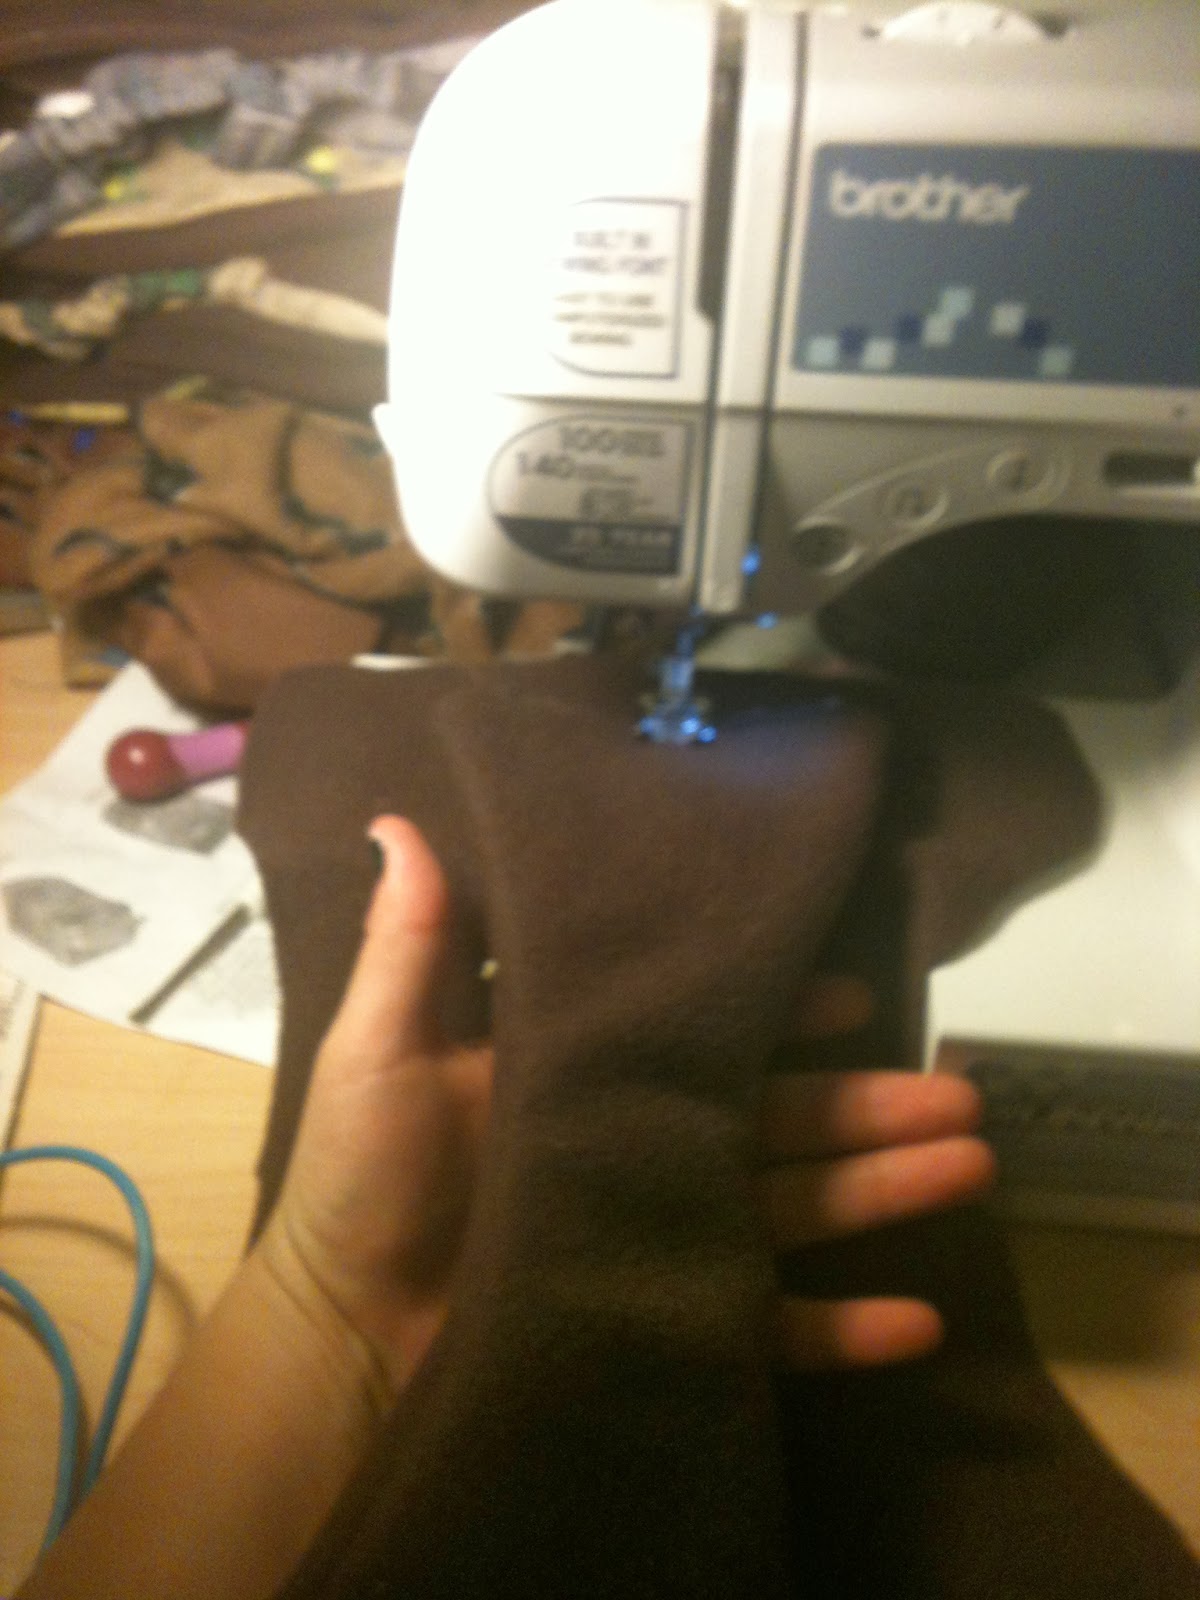
Step 6: Sew the inner layer of the diaper to the outer layer. Make sure you DO NOT sew the top section between the outer flaps as you will need this open to wash the diaper, add inserts, dry the diaper, etc. A straight stich is fine for this or if you want to be fancy go for it. I tend to go over this part at least once since I want my diapers to last for a long time! So far Baby Thor diapers have lasted almost two years so well worth the extra five minutes to go over the stitches. You want to be sure to sew the insert upside down to the front of the diaper so that you can flip the diaper after you are done sewing. This allow for easy drying when you are washing the diaper as well as not having to have visible elastic or leg gussets.
*YOU CAN SEE THE PART OF THE DIAPER YOU DO NOT SEW TOGETHER IN THE ABOVE PICTURE! NOTICE MY STITCHING STARTS AT THE DIAPER FLATS!!
Step 7: Attach the elastic for the legs. Measurements vary depending on the pattern you use and the size of diaper. Send me a message and I will let you know my lengths. Placement also is dependent on pattern. :) You a zig zag stitch to attach the elastic.
Step 8: Flip your diaper inside out: Make sure that there are no openings and everything is sewn up nice and tight!
Step 9: On the unfinished edge that you did not sew together because you understood instinctively that my CAPS LOCKS typing meant not too fold down the edges about an inch and sew with a straight stitch. You want to make sure to sew low so that you can add elastic to the inside of the fold down for the back.
Step 10: Add elastic to the inside of the FRONT of the diaper and secure with a zig zag stitch. Like before the length depends on the pattern you use. This step will prevent those lovely back blowouts that all parents are familiar with. The best way to do this is to attach one end of the elastic to a safety pin. Feed it through until you can anchor one end. Sew the anchor. Finish feeding the elastic through and sew the other anchor.
Step 11: Add the remaining snaps. 3 on each side of the flaps. These snaps should go through each layer of the diaper instead of just the outside layer like the first 12 snaps did. Make sure the snaps are complimentary to the first 12 snaps.
Step 12: Sit back and enjoy your new diaper! If you have children and they have been quiet the entire time you have been working on the diaper check on them. If they have removed all clothes in a fit of toddler rebellion maybe try out your brand new diaper. :)
I know all the diapers in this blog vary. I'm sorry. It is apparently hard for my pregnant brain to remember to take pictures throughout the whole process of making a cloth diaper. Also I can't find any recent pictures of Baby Thor in a diaper (I mentioned the toddler naked rebellion right?) and so here is a picture of him in one of the favorite diapers I ever made him. The pictures of his John Deere diapers are from April 2012 and he still fits into that diaper and its one of the ones he wears at bedtime. I even saved some fabric so was able to make one for Appleseed so my boys will be matchy matchy!


.JPG)


